
Want to test what you know?
Try our free Grade 5 English quiz — 25 questions, instant results, no sign-up.
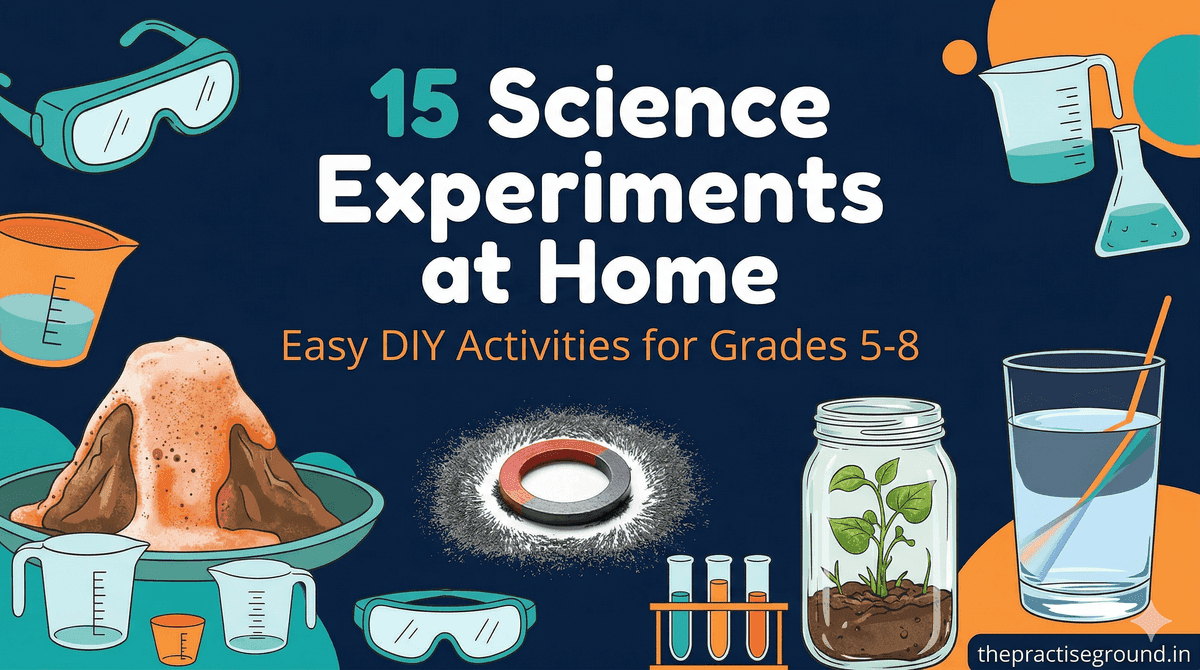
Science is not just something you read about in textbooks — it is something you can see, touch, and test in your own kitchen. These 15 experiments use everyday materials and teach real scientific concepts from your school syllabus. Each one takes 10-30 minutes and is safe to do at home with basic supervision.
Chemistry Experiments
1. Turmeric pH Indicator
What you need: Turmeric powder, water, lemon juice, baking soda solution, soap water What to do: Mix turmeric powder with water to make a yellow solution. Add a few drops of lemon juice (acid) — the colour stays yellow. Now add baking soda solution (base) — the colour turns red-brown. The science: Turmeric contains curcumin, a natural pH indicator. It stays yellow in acidic solutions (pH below 7) and turns red-brown in basic solutions (pH above 7). This is the same principle behind litmus paper. Curriculum link: Acids, bases, and indicators (Grade 7 Science)2. Invisible Ink
What you need: Lemon juice, cotton bud, white paper, an iron or desk lamp What to do: Write a message on white paper using lemon juice applied with a cotton bud. Let it dry completely. Hold the paper near a heat source (iron on low, or a desk lamp). The message appears in brown. The science: Lemon juice is a weak acid that weakens the paper fibres where you write. When heated, these weakened areas oxidise (react with oxygen) faster than the rest of the paper, turning brown before the surrounding paper does.3. Density Tower
What you need: Honey, dish soap, water (with food colouring), vegetable oil, rubbing alcohol What to do: Pour each liquid slowly into a tall glass in this order: honey, dish soap, coloured water, vegetable oil, rubbing alcohol. They form distinct layers. The science: Each liquid has a different density (mass per unit volume). Denser liquids sink to the bottom. This demonstrates that density, not volume, determines which liquid floats or sinks. Curriculum link: Density and states of matter (Grade 6-7 Science)Physics Experiments
4. Paper Airplane Aerodynamics
What you need: Paper, ruler, tape (optional) What to do: Make three paper airplanes with different designs: one with large wings, one with small pointed wings, one with medium wings. Throw each from the same height and angle. Measure how far each flies. The science: Larger wings create more lift but also more drag. Pointed designs reduce drag but may lack stability. The best design balances lift, drag, and stability — the same principles used in real aircraft engineering. Curriculum link: Forces and motion (Grade 6-8 Science)5. Static Electricity Butterfly
What you need: Tissue paper, scissors, a balloon What to do: Cut a small butterfly shape from tissue paper. Inflate a balloon and rub it on your hair or a wool sweater for 30 seconds. Hold the balloon above the tissue butterfly — it rises and sticks to the balloon. The science: Rubbing the balloon transfers electrons from your hair to the balloon, giving it a negative charge. This charge attracts the lightweight tissue paper through electrostatic force. Curriculum link: Static electricity and electric charge (Grade 8 Science)6. Simple Lever
What you need: A ruler, a pencil (fulcrum), small objects of different weights What to do: Balance the ruler on the pencil. Place objects at different distances from the fulcrum. Discover that a light object far from the fulcrum can balance a heavy object close to it. The science: This demonstrates the principle of moments: Force x Distance from fulcrum = constant for balance. Levers multiply force, which is why a long spanner makes it easier to loosen a tight bolt.Biology Experiments
7. Growing Seeds in Different Conditions
What you need: Bean seeds, paper towels, plastic bags, water, a dark cupboard, a sunny windowsill What to do: Place seeds in damp paper towels inside plastic bags. Put one in sunlight, one in darkness, one in the fridge. Observe growth over 7 days. The science: Seeds need warmth and water to germinate, but not light (they sprout in darkness too). The fridge seed germinates much slower or not at all, showing that temperature affects the rate of germination. Curriculum link: Plant growth and conditions for germination (Grade 5-6 Science)8. Leaf Chromatography
What you need: Green leaves, rubbing alcohol, a glass, coffee filter paper, tape, pencil What to do: Crush green leaves and mix with rubbing alcohol. Place a strip of coffee filter paper so its tip touches the solution. Wait 30-60 minutes. The filter paper shows bands of different colours (green, yellow, orange). The science: Leaves contain multiple pigments, not just green chlorophyll. Chromatography separates these pigments based on their solubility. You will see chlorophyll (green), xanthophyll (yellow), and carotene (orange) — the same pigments visible in autumn leaves. Curriculum link: Photosynthesis and plant pigments (Grade 7-8 Science)Safety Guidelines
- Always have an adult present for experiments involving heat
- Wear old clothes to avoid stains from food colouring or turmeric
- Never taste chemicals (even household ones) unless the experiment specifically says to
- Clean up thoroughly after each experiment
- If using rubbing alcohol, work in a well-ventilated area away from flames
Key Takeaways
Frequently Asked Questions
Are these experiments safe for children to do alone?
Most experiments are safe for children aged 10 and above to do independently. Experiments involving heat sources or rubbing alcohol should always have adult supervision. We recommend an adult being present for all experiments for children under 10.
Can I use these experiments for school science projects?
Absolutely. Each experiment includes the scientific principle it demonstrates, which you can expand into a full project by forming a hypothesis, documenting your method, recording observations, and writing a conclusion.
What if my experiment does not work?
Failed experiments are still good science. Ask yourself: What went wrong? Was the temperature wrong? Did I use the right materials? Troubleshooting is a key part of the scientific method. Try again with adjustments.
Explore more science topics with our free Science quizzes covering all Grade 5-8 curriculum topics.
Taking a quick break? Test yourself!
Pause and try a quick Grade 5 English quiz — see how much you've picked up so far.